

What Equipment You Need to Start a Photo Booth Rental Business
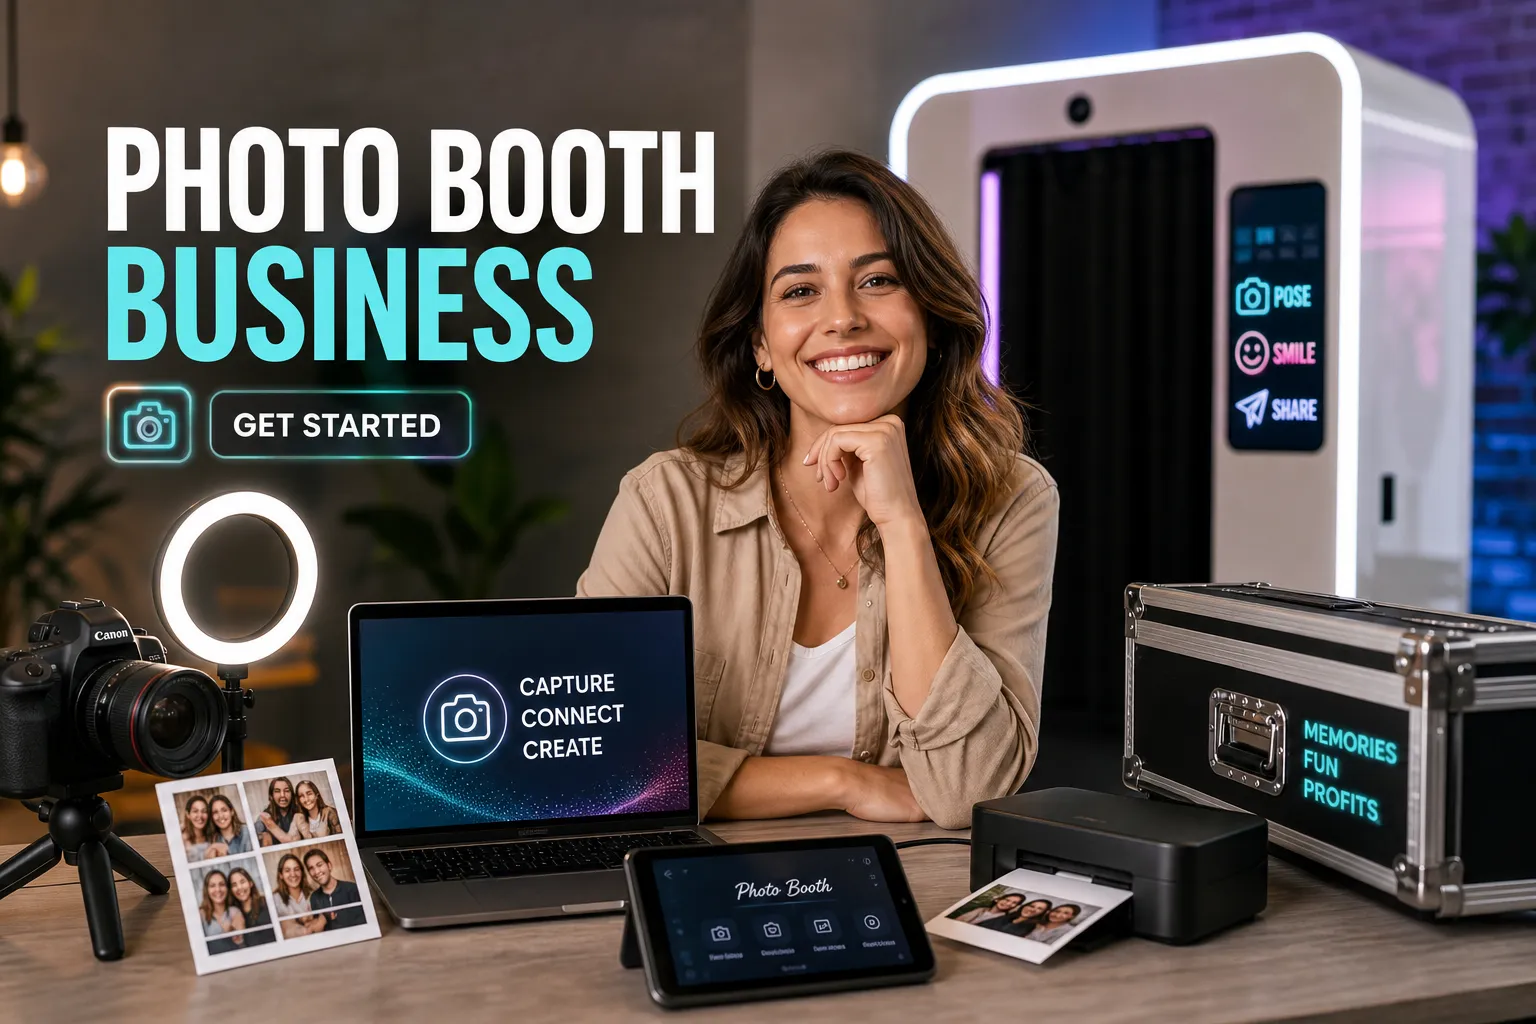
Wondering what equipment do I need to start a photo booth rental business in Canada? The short answer is: more than most starter guides cover, but less than you might fear. A complete, professional setup runs anywhere from C$3,500 to C$8,000 or more depending on your tier, and the gear choices you make in the first month shape your revenue ceiling for years. This guide gives you the full photo booth equipment list: cameras, printers, backdrops, software, and the accessories most starter guides forget to mention.
Sourcing smartly inside Canada also matters more than most new operators realize. For backdrops specifically, buying from a Canadian manufacturer like True Backdrops can help you avoid US import duties, currency conversion markups, and cross-border shipping delays, a real cost difference when you're managing a tight startup budget. True Backdrops ships domestically, which typically means faster delivery and no customs hassle for Canadian buyers.
By the end of this article, you'll have a clear picture of what to buy, what to spend, and a first-event checklist you can actually use.
What it actually costs to launch (startup budget by tier)
Before you buy anything, know which tier fits your goals. Most new operators in Canada fall into one of three clear budget bands, and picking the wrong one means either overspending on features you don't need or under-buying gear that limits your bookings.
Entry-level setup: C$3,500 to C$5,000
This tier covers the essential booth rental gear to get started:
- iPad-based open-air shell or enclosure: C$800 to C$1,200
- Tablet instead of a laptop: C$500 to C$700
- Budget dye-sub printer like the DNP DS-RX1HS: around C$649
- Basic ring lighting: C$200 to C$400
- Entry software: C$99 to C$300
- Accessories: C$200 to C$300
It's a solid starting point for weekend side-gigs, birthday parties, and smaller events where print volume stays manageable.
Mid-range setup: C$5,000 to C$8,000
This is where most full-time photo booth operators in Canada start. You're upgrading to a mirrorless camera body, a faster printer like the DNP DS620A, a laptop instead of a tablet, and better two-point lighting. The image quality jump over the entry tier is noticeable in prints, and better prints drive repeat bookings and referrals. This tier is the sweet spot for operators targeting weddings and corporate events priced between C$600 and C$1,000 per booking.
Pro-tier and 360 photo booths: C$8,000+
360 photo booth equipment pushes costs higher because of the motorized spin arm, heavy-duty tripod, upgraded software license, and larger enclosures. If you plan to charge premium rates (C$1,000 to C$2,000 per event) from day one, this tier makes financial sense. For everyone else, build into it over time rather than financing a pro rig before you have consistent bookings.
Camera and lens: the core of every great photo booth
Your camera is the biggest single purchase in your photobooth starter kit, so it's worth understanding what actually matters for booth use: reliable tethering to your software, fast autofocus for groups, and consistent low-light performance in dim venues. You don't need the most expensive body on the market.
Camera picks with Canadian prices for 2026
Mirrorless has largely replaced DSLR for new builds this year. The form factor is smaller, autofocus is faster, and software compatibility is excellent across all major booth platforms. Here's how the top options stack up:
- Nikon Z5 (around C$1,000): one of the best-value full-frame bodies available
- Canon EOS R8 and Canon EOS R7 (both around C$1,500): cover different sensor sizes depending on your preference
- Nikon Z6 II (around C$2,000): better low-light performance and dual card slots for high-volume events
Spend wisely here, not extravagantly. A C$1,500 body with great lighting produces better event photos than a C$4,000 body with poor lighting every time. For a broader, regularly updated comparison of current bodies, see a roundup of the best mirrorless cameras to help pick a model that balances price and performance.
The right lens for indoor group shots
For full-frame cameras, a 24mm to 35mm prime lens is the right starting range for a typical booth space. On APS-C bodies, a 16mm to 24mm lens gives you similar coverage. A fast aperture (f/1.8 to f/2.8) handles lower-light venues without pushing ISO too high. A quality prime lens in this range generally runs C$300 to C$700, and lenses tend to outlast multiple camera bodies, making them one of the better long-term investments in your kit.
Webcam vs. DSLR/mirrorless: the quick verdict
Webcam-based booths exist and reduce startup costs, but print quality suffers in ways clients notice immediately. For any rental business charging above C$400 per event, a proper mirrorless or DSLR body is non-negotiable. The prints are the product guests take home. That's not the place to cut corners.
Photo booth software and printer: the gear that drives your revenue
Printers and software are where new operators make the most expensive mistakes, usually by under-budgeting the printer or picking software that doesn't support the hardware they already bought. Get these two right and the rest of your setup is straightforward.
Dye-sublimation printers worth buying in Canada
The DNP DS620A (C$895 to C$995) is the industry standard for good reason: it prints a 4x6 in about 8 seconds, handles high-volume events without overheating, and is supported by every major booth software platform. For operators doing one or two events per week, the DNP DS-RX1HS or the HiTi P525L (both around C$649) are solid alternatives at a slower 12-second print speed. Avoid inkjet printers entirely for event work. They can't handle the volume, humidity, or speed demands. For a practical comparison of available machines, check this guide to the best dye-sublimation printers for photo booth owners.
Photo booth software for printing, templates, and galleries
Three platforms cover most operators well. SLR Booth costs around US$99 as a one-time license and runs on PC, with a solid template editor and built-in gallery hosting. Simple Booth HALO runs around US$9 per week, offers a clean user interface, and includes cloud galleries with QR code sharing built in. LumaBooth is the strongest iOS option at around US$19.99 per month, with an in-app template editor that pairs cleanly with iPad-based setups. Note that these are USD prices, factor in the exchange rate when budgeting. Match your software to your hardware platform before purchasing either. For a wider feature comparison and platform guide, review a current photo booth software guide.
Per-event consumable costs to plan for
A dye-sub media kit covers roughly four to five events and runs about C$50 to C$70 per event in paper and ribbon. A busy 4-hour event can produce 200 or more prints, so factor that into pricing. With props included, budget C$75 to C$200 per event in consumables depending on print volume and whether you're providing a full prop kit. For real-world breakdowns of consumable costs and media usage in kiosk-style print setups, see an analysis of the real costs of printer consumables for kiosks.
Backdrops, lighting, and props: what guests actually notice
Guests don't evaluate your camera spec. They notice how they look in the photos and how the setup feels to stand in front of. Lighting, backdrops, and props are the three elements that determine both perceived quality and social shareability of every image you produce.
Lighting options that make or break a photo
Two-point continuous lighting with softboxes is the standard starting configuration. It eliminates harsh shadows, flatters groups of different heights, and doesn't require flash triggers or sync cables. A decent two-softbox kit runs C$150 to C$400 and sets up in minutes. Ring lights work for single-subject portrait booths but struggle with groups of three or more. Relying on venue lighting alone is the fastest way to produce inconsistent, unprofessional results.
Why pillowcase backdrops are the right choice for rental pros
Your backdrop system has a real impact on daily operations. Pillowcase-style backdrops slip over a standard tension frame in minutes and stay wrinkle-free throughout the event. Compare that to vinyl printed backdrops, heavy, prone to creasing, and a repeated transport headache, or ordering from US suppliers, where exchange rate losses, customs fees, and unpredictable delays can eat into margins.
True Backdrops offers pillowcase-style backdrops shipped domestically, which means Canadian buyers typically avoid import duties and cross-border delays. Their double-sided designs give operators two distinct looks in one product, meaningful when clients want variety between bookings without buying extra inventory. Their drapery backdrop systems also cover larger installations for galas and corporate events where a standard tension frame doesn't have the visual scale the venue needs.
Props and branded accessories that boost interaction
A standard prop kit with signs, glasses, and hats costs C$50 to C$150 and meaningfully increases guest engagement and session count. For corporate events in 2026, branded signs and custom overlay templates often outperform physical props for driving social sharing and ROI for the client. Prop organization matters too: a dedicated storage box keeps setup clean and teardown fast, which directly affects how early you can leave at the end of a long event night.
Accessories most checklists skip
The gear between the headline purchases is where photo booth setups fall apart on event day. Cables fail, power strips get forgotten, and backdrops arrive at venues without their storage bags. Build your accessory kit deliberately.
Transport and storage essentials
A padded rolling case or hard case for your camera, printer, and accessories is non-negotiable once you're moving gear to multiple events per month. True Backdrops offers backdrop storage organizers designed to protect fabric backdrops between events, preventing creases and extending the lifespan of every backdrop in your inventory. A separate bag for light stands and tension frames completes the transport kit and keeps setup organized from the moment you arrive on-site.
Tech accessories that prevent on-site failures
A powered USB hub is essential: printers and tethered cameras draw more current than standard laptop ports can reliably supply on their own. Add a heavy-duty power strip with surge protection, at least two USB data cables per device, and a portable battery pack as a tablet backup. A laptop stand or adjustable arm positions your screen correctly inside the enclosure without requiring a separate table or awkward workaround.
Signage and client-facing touches that justify premium pricing
A branded start screen in your software, a printed backdrop name card, and a QR code handout for gallery access all create a polished experience that guests associate with professionalism. In practice, these details are often what separates operators who command C$800 bookings from those still pricing at C$400, presentation signals value before a single photo is taken.
What equipment do I need to start a photo booth rental business? Your first-event setup checklist
Knowing what equipment you need is one thing. Running your first paid event smoothly is another. This Photo Booth Setup Guide removes the guesswork so your first booking doesn't become a stressful gear scramble.
Day-before prep
- Charge all batteries: camera, laptop, and tablet
- Load fresh media into the printer and run a test print to confirm alignment
- Check that your backdrop is wrinkle-free and packed into its storage bag
- Confirm your software is updated and that gallery settings are live and accessible
- Pack the prop kit and count what's in it so nothing goes missing before event day
On-site setup sequence
Arrive 60 to 90 minutes before the event start. Set up the backdrop tension frame first so you have a visual anchor for the rest of the layout. Mount and level your lighting before touching the camera. Position the camera on the stand, tether to the laptop, and open your booth software. Run five to ten test shots under venue lighting to confirm your exposure is correct. Connect the printer, load paper, and print one test frame before guests arrive. Brief the client or venue coordinator on how the booth operates so they can direct guests confidently.
Teardown and post-event wrap
Pack the backdrop immediately into its organizer bag to prevent wrinkles before the next event. Export the gallery link and send it to the client within 24 hours. This is often the last impression that drives referrals. Note your consumable stock used and reorder before your next booking. Log gear condition for your insurance records, especially after high-traffic events.
Get your first booking before you've perfected every detail
A professional photo booth rental business in Canada doesn't require a massive upfront investment if you buy the right event photo booth essentials in the right order. Start at the tier that matches your current event volume, prioritize the gear guests actually see, lighting, backdrops, props, and upgrade the back-end hardware as revenue allows.
For backdrops, Canadian operators have a clear advantage sourcing domestically. True Backdrops offers pillowcase-style designs that set up in minutes, double-sided options that expand your design inventory without doubling your costs, and domestic shipping that sidesteps the import duties and delays that come with cross-border orders. It's worth comparing vendors on price, shipping times, and product specs, but a domestic supplier is usually the right starting point.
So if you're still asking what equipment do I need to start a photo booth rental business, you now have the complete photo booth supplies checklist. Set a launch date, pick your tier, and start sourcing. The gear is the easy part. Getting in front of clients is where the real work begins.